


7 Ultimate Ways to Face Contouring with Makeup
7 Ultimate Ways to Face Contouring with Makeup
Table of Contents
In the realm of makeup artistry few techniques possess the transformative power of face contouring. The strategic application of light and shadow can sculpt and define facial features enhancing natural beauty and creating a more balanced and refined appearance. From subtly accentuating cheekbones to reshaping the jawline face contouring is a versatile skill that empowers individuals to customize their look.
This comprehensive guide delves into the intricacies of makeup contouring exploring the underlying principles essential tools step by step techniques for various face shapes common mistakes to avoid and advanced tips for a flawless finish. Whether you are a makeup novice or a seasoned enthusiast this guide will equip you with the knowledge and skills to master the art of face contouring makeup.
1. Understanding the Principles of Contouring:
At its core contouring makeup is based on the principles of light and shadow. Darker shades contour are used to create the illusion of depth and recession making areas appear smaller or more defined. Lighter shades highlight are used to bring areas forward emphasizing and illuminating features. By strategically placing these shades we can manipulate the perception of facial structure.
- Creating Dimension: Face contouring adds dimension to a flat canvas. Just as an artist uses shading to make a two dimensional drawing appear three dimensional makeup contouring adds depth to the face.
- Enhancing Natural Features: The goal of contouring makeup is often to enhance the existing bone structure such as accentuating the natural hollows of the cheeks or defining the jawline.
- Correcting Imbalances: Contouring can also be used to visually correct minor imbalances in facial symmetry or proportions. For example it can help to narrow a wider forehead or soften a strong jawline.
- The Importance of Light: Understanding how light naturally falls on the face is crucial for effective face contouring. Areas that naturally catch light should be highlighted while areas that are naturally shadowed should be contoured.
2. Essential Tools for Face Contouring:
The right tools are essential for achieving a seamless and well blended contour makeup look. Here is a breakdown of the key items you will need for face sculpting:
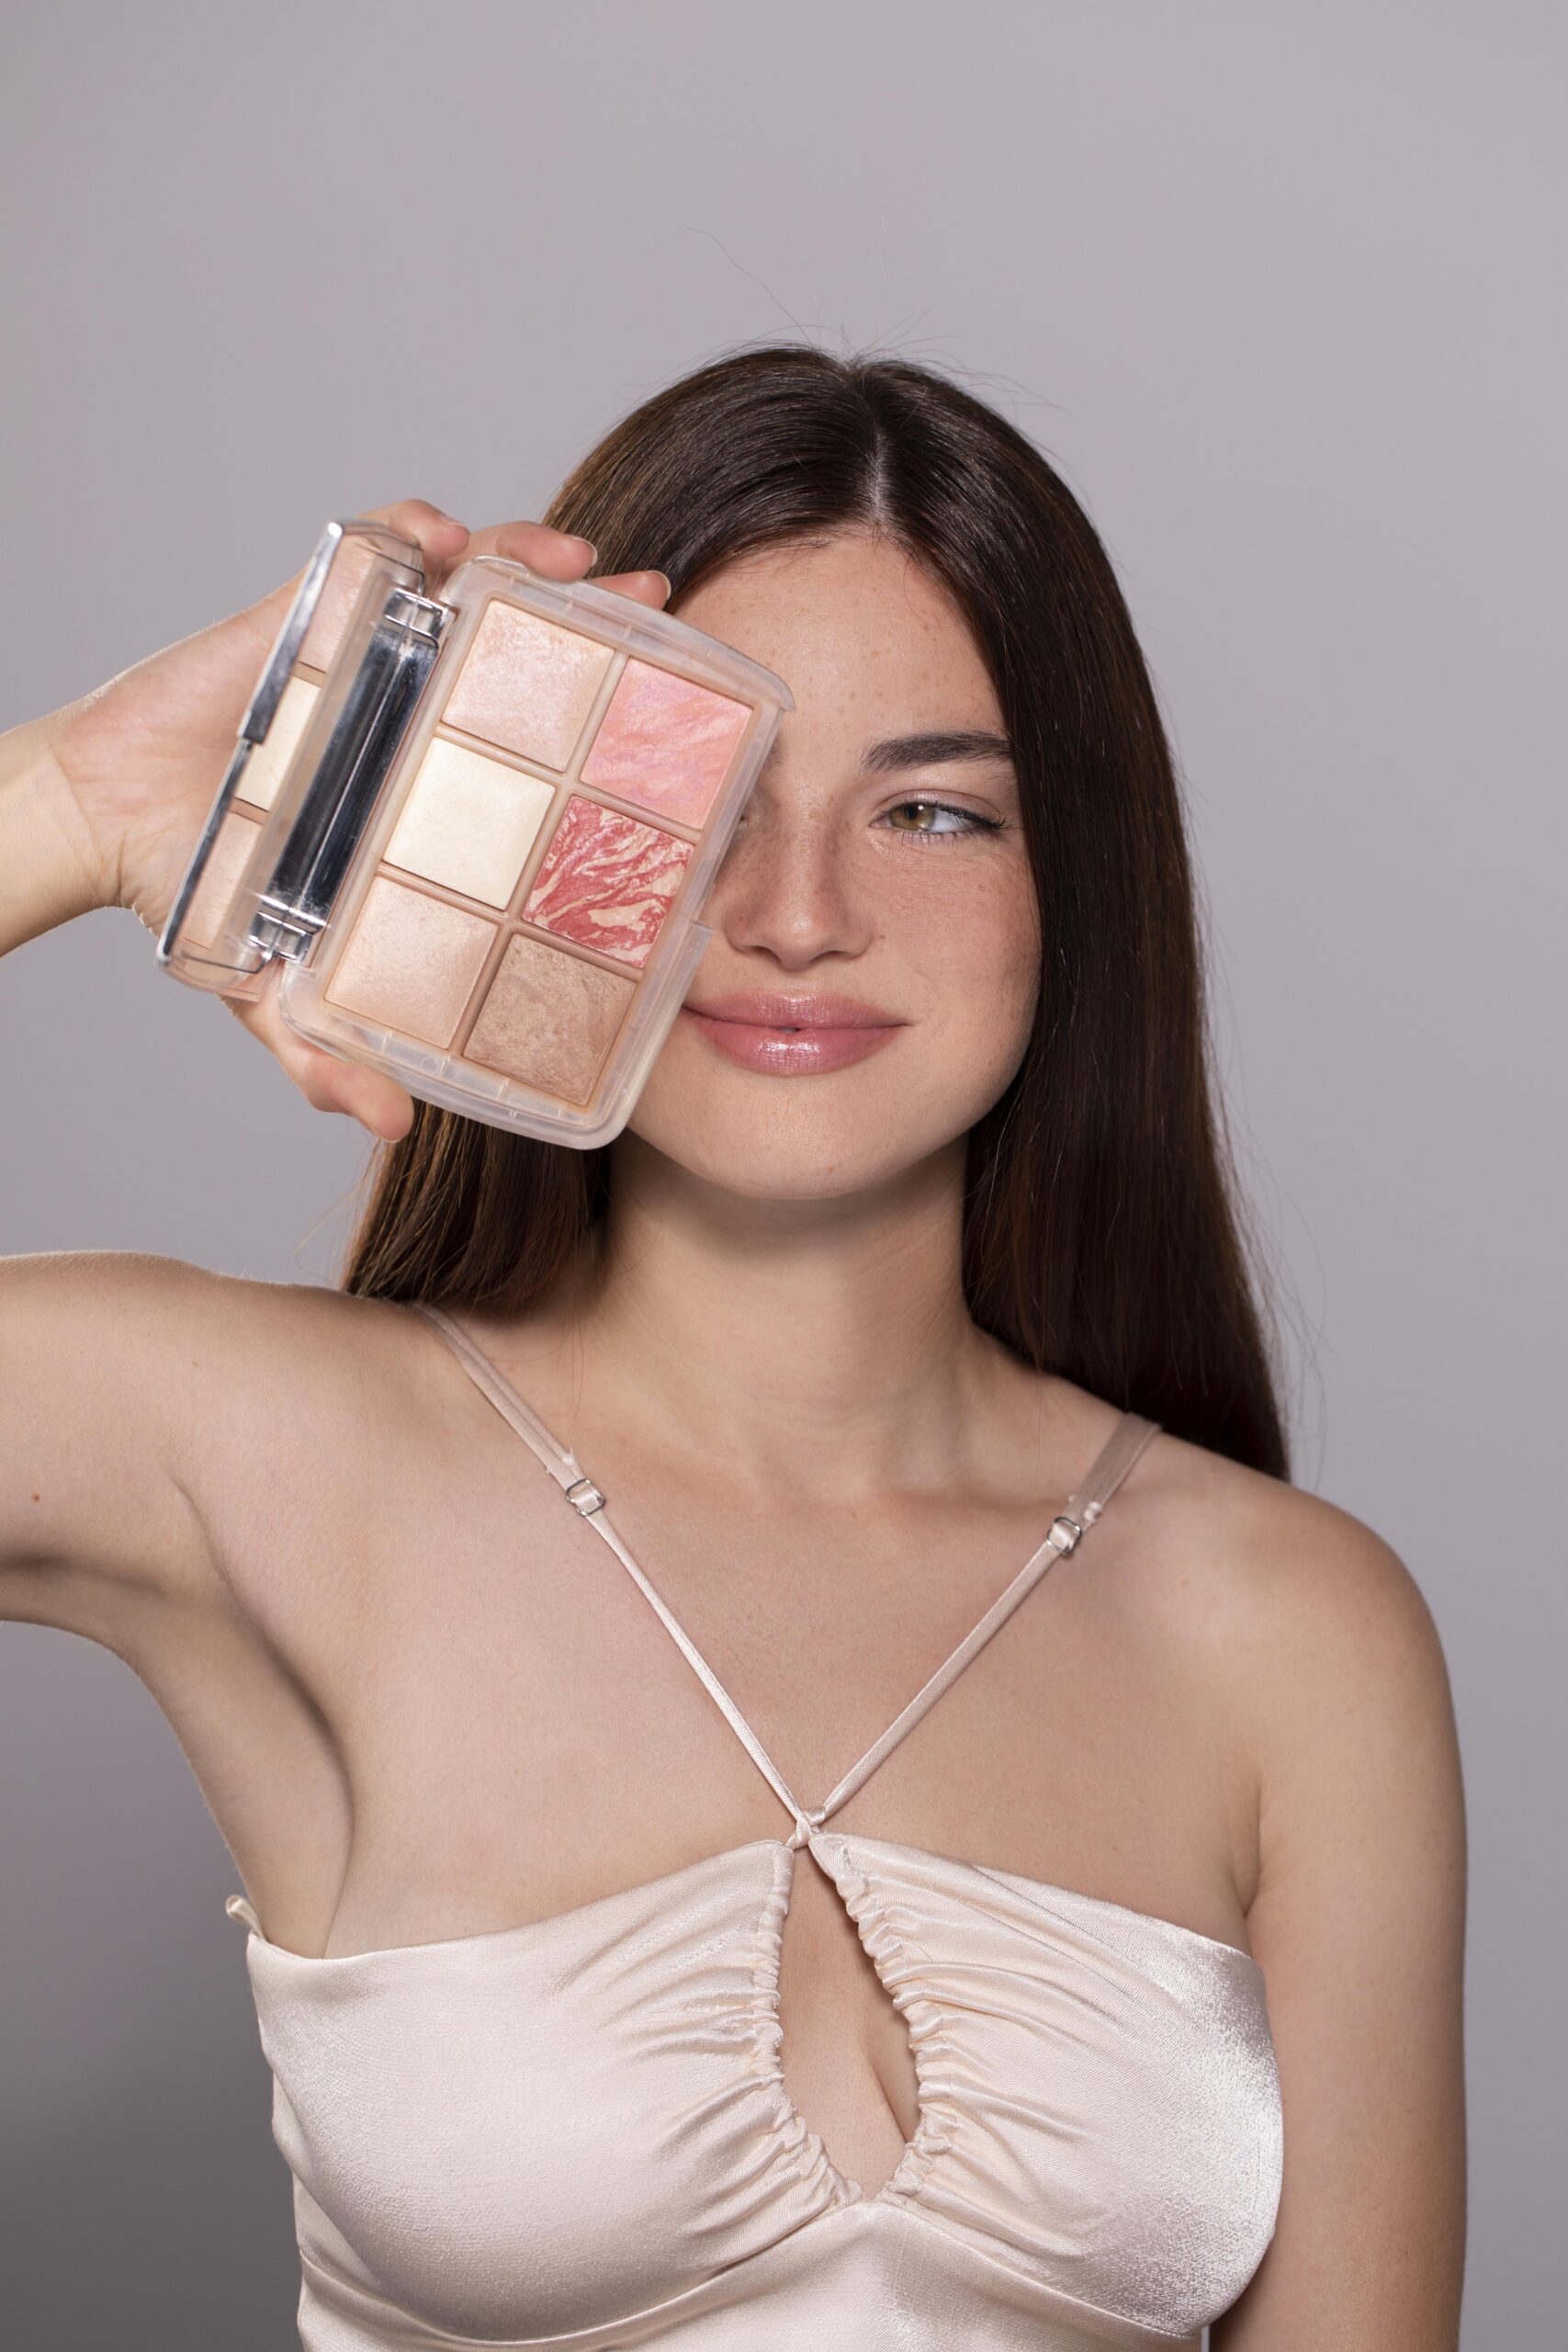
- Contour Products:
- Powder Contour: Ideal for beginners and those with oily skin powder contours are easy to blend and buildable for subtle face definition. Look for matte shades that are a few shades darker than your skin tone with cool or neutral undertones to mimic natural shadows in your makeup routine. Avoid warm or orange toned powders which can look muddy.
- Cream Contour: Cream contours offer a more pigmented and often longer lasting finish perfect for advanced face contouring techniques. They are excellent for dry or mature skin and provide a seamless blend when applied correctly with a brush or a makeup sponge.
- Stick Bullet Contour: These offer precise application for targeted face sculpting and are convenient for on the go touch ups in your makeup bag. They come in both cream and powder formulas.
- Highlight Products:
- Powder Highlight: Typically shimmery or satin powder highlighters reflect light and draw attention to the high points of the face for a glowing makeup look. Choose shades that complement your skin tone such as champagne gold or pearlescent.
- Cream Highlight: Cream highlighters offer a dewy and luminous finish ideal for a natural makeup look. They can be subtle or intense depending on the formula.
- Liquid Highlight: Liquid highlighters are versatile and can be mixed with foundation or applied directly for a targeted glow in your face makeup.
- Brushes and Applicators:
- Angled Contour Brush: This brush shape is perfect for applying contour powder along the cheekbones and jawline fitting neatly into the natural contours of the face for precise makeup application.
- Buffing Brush: A dense rounded brush is essential for blending out both cream and powder contours seamlessly for a natural makeup finish.
- Small Tapered Brush: Useful for contouring the nose and other smaller areas requiring detailed makeup work.
- Fan Brush: Ideal for applying a subtle wash of powder highlighter to the high points of the face for a delicate glow.
- Makeup Sponge Beauty Blender: Excellent for blending cream and liquid products for a smooth airbrushed finish in your face makeup application.
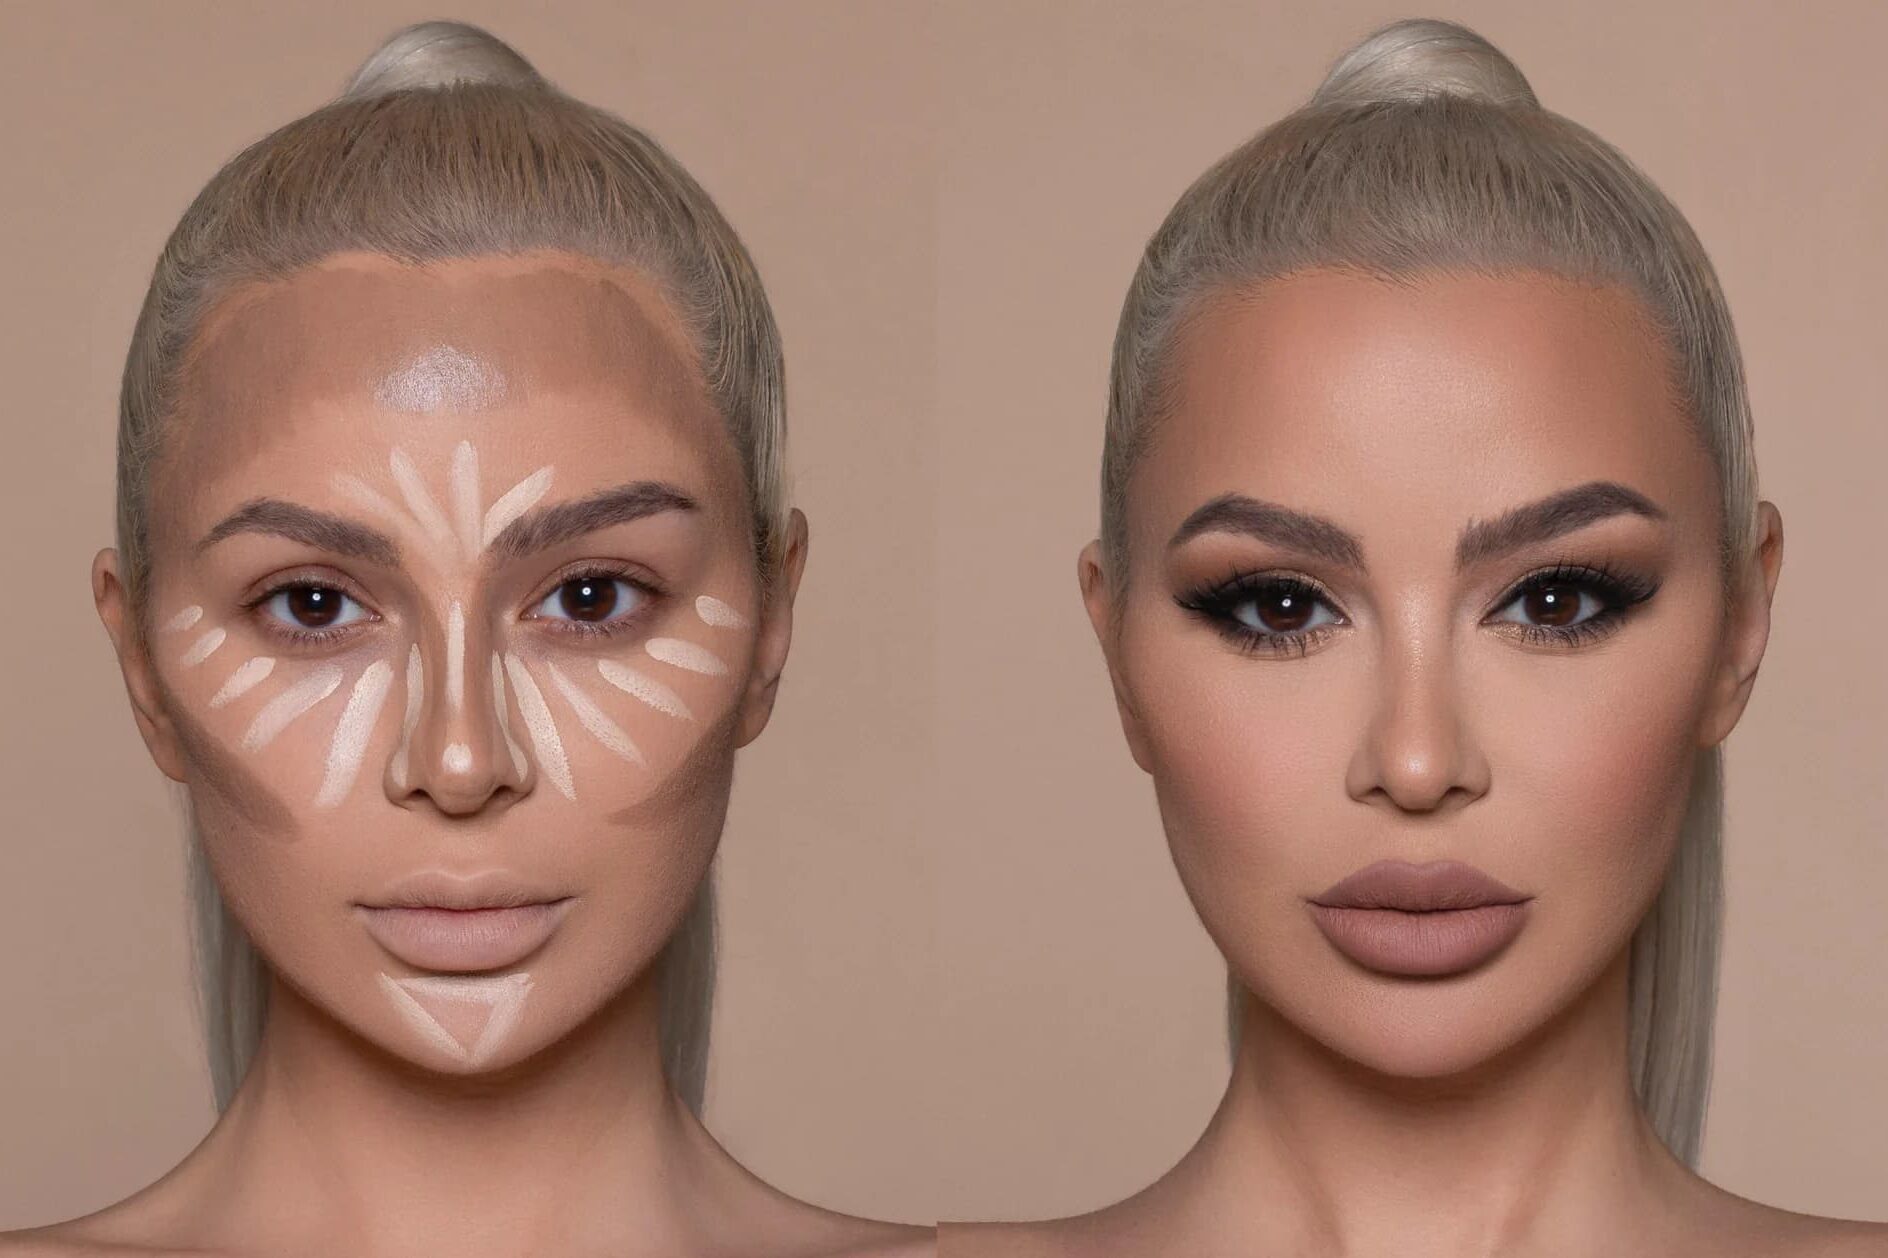
3. Step by Step Guide to Basic Face Contouring:
Here is a fundamental approach to contouring that can be adapted for various face shapes in your makeup routine:
- Prep Your Skin: Begin with a clean moisturized face and apply your foundation and concealer as usual for a smooth makeup base.
- Identify Your Natural Contours: Locate the hollows of your cheeks by sucking in your cheeks the line that forms beneath your cheekbone is where you will apply your contour makeup. Feel along your jawline this is another area for definition in your face sculpting.
- Apply Contour:
- Cheekbones: Using an angled brush or a contour stick apply the contour product along the hollows of your cheeks starting near your ear and blending towards the center of your cheek stopping about two finger widths away from your nose for defined cheekbones makeup.
- Jawline: Apply the contour along your jawline starting beneath your ears and blending towards your chin. This helps to define the lower face and create a more sculpted look in your face makeup.
- Temples: If you have a wider forehead you can apply a small amount of contour along your temples near your hairline to create a more balanced appearance in your makeup look.
- Sides of the Nose: For a slimmer looking nose apply thin lines of contour down the sides of your nose bridge starting near your brow bone and extending to the tip for nose contouring makeup.
- Blend Blend Blend: This is the most crucial step in achieving natural face contouring. Use a buffing brush or a damp makeup sponge to blend the contour seamlessly into your foundation. There should be no harsh lines. The goal is to create a natural looking shadow in your makeup application. Blend upwards along the cheekbones and downwards along the jawline. For the nose blend the contour lines inwards.
- Apply Highlight:
- Cheekbones: Apply highlighter to the tops of your cheekbones above where you applied the contour. This will bring forward this area and enhance the sculpted effect in your makeup look.
- Bridge of the Nose: Apply a thin line of highlighter down the center of your nose bridge to create the illusion of length and definition in your nose makeup.
- Cupid’s Bow: A touch of highlighter on the Cupid’s bow the V shaped dip above your upper lip can make your lips appear fuller with lip makeup.
- Inner Corners of the Eyes: A small amount of highlighter in the inner corners of your eyes can brighten your complexion and make your eyes appear wider in your eye makeup.
- Brow Bone: Applying highlighter just beneath the arch of your eyebrows can lift and define your brows with eyebrow makeup.
- Blend Highlight: Gently blend the highlighter into the surrounding makeup ensuring there are no harsh lines for a seamless makeup finish.
- Set with Powder Optional: If you used cream products or have oily skin you can set your contour and highlight with a translucent setting powder or a powder that matches your skin tone to prolong your makeup. Apply it lightly to avoid disrupting your blended work.
4. Contouring Techniques for Different Face Shapes:
Different face shapes benefit from specific contouring techniques to enhance their natural harmony in their makeup application. Here is a guide for common face shapes for tailored face sculpting:
- Round Face: The goal is to create the illusion of length and definition through strategic makeup contouring.
- Contour: Apply contour along the sides of the forehead near the temples under the cheekbones starting higher and angling down towards the mouth and along the sides of the jawline for round face makeup.
- Highlight: Apply highlighter to the center of the forehead the bridge of the nose the tops of the cheekbones and the center of the chin for round face highlighting.
- Oval Face: Considered the most balanced face shape minimal contouring is usually needed for oval face makeup.
- Contour: Lightly contour under the cheekbones and along the jawline if desired for subtle oval face definition.
- Highlight: Apply highlighter to the tops of the cheekbones the bridge of the nose and the Cupid’s bow for oval face highlighting.
- Square Face: The aim is to soften the angular jawline and forehead with square face contouring techniques.
- Contour: Apply contour along the corners of the forehead near the temples and along the edges of the jawline from the ear down to the chin for square face makeup.
- Highlight: Apply highlighter to the center of the forehead the bridge of the nose and the center of the chin for square face highlighting.
- Heart Shaped Face: The goal is to balance a wider forehead with a narrower chin using heart face contouring.
- Contour: Apply contour along the sides of the forehead near the temples and under the cheekbones. You can also apply a small amount to the tip of the chin to soften it with heart face makeup.
- Highlight: Apply highlighter to the center of the forehead the bridge of the nose and the tops of the cheekbones for heart face highlighting.
- Long Oblong Face: The aim is to create the illusion of a shorter face with long face contouring techniques.
- Contour: Apply contour along the hairline across the forehead and along the underside of the chin. Contour lightly under the cheekbones horizontally for long face makeup.
- Highlight: Apply highlighter to the center of the forehead the bridge of the nose and the apples of the cheeks. Avoid highlighting the chin as this can further elongate the face in long face makeup.
- Diamond Face: The goal is to soften the wider cheekbones and balance the narrower forehead and chin with diamond face contouring.
- Contour: Apply contour directly under the cheekbones starting near the ear and angling towards the chin. You can also apply a touch of contour to the sides of the forehead near the temples for diamond face makeup.
- Highlight: Apply highlighter to the center of the forehead the bridge of the nose and the center of the chin for diamond face highlighting.
5. Common Contouring Mistakes to Avoid:
Even with practice it is easy to fall into common contouring pitfalls in your makeup journey. Here are some mistakes to watch out for to achieve flawless face contouring:
- Using the Wrong Shade: Contour makeup should mimic a natural shadow so avoid shades that are too warm orange or red toned or too dark and muddy. Choose a shade that is only a few shades deeper than your skin tone with cool or neutral undertones for natural face sculpting.
- Applying Too Much Product: Start with a small amount of product and build up the intensity gradually for controlled makeup application. It is easier to add more than to take away in face contouring.
- Not Blending Properly: Harsh unblended lines are the most common contouring mistake in makeup application. Take your time to blend the contour seamlessly into your foundation for a natural transition in your face makeup.
- Applying Contour Too Low on the Cheeks: Applying contour too low can drag the face down in your makeup look. The contour should be placed in the hollows of the cheeks angled slightly upwards towards the ears for lifted cheekbones makeup.
- Using Shimmery Products for Contour: Contour makeup is meant to create shadow so it should always be matte. Shimmery products should be reserved for highlighting in your makeup routine.
- Ignoring Your Face Shape: Applying the same contouring technique to every face shape can result in an unflattering look. Tailor your technique to enhance your unique features with personalized face sculpting.
- Over Contouring the Nose: Heavy contouring on the nose can look unnatural in your makeup. Use a light hand and blend thoroughly for subtle nose contouring.
- Not Considering Your Lighting: Makeup can look different in different lighting conditions. Apply your contour in good lighting to ensure it looks natural in all environments.
6. Advanced Contouring Tips and Techniques:
Once you have mastered the basics you can explore more advanced contouring techniques for professional makeup looks:
- Cream Contouring Under Foundation: For a very subtle and natural looking contour try applying cream contour directly to your bare skin or after primer and then apply your foundation over it for a diffused shadow effect in your makeup.
- Sandwiching Your Contour: For long lasting contour you can layer powder contour over cream contour. This helps to set the cream and intensifies the effect for all day makeup.
- Using Multiple Shades of Contour: For a more sculpted and dimensional look you can use two different shades of contour a slightly lighter shade to define the main areas and a deeper shade to create more intense shadows in specific areas like under the cheekbones for advanced face sculpting.
- Contouring Different Facial Features: Beyond the cheeks jawline and nose you can also contour other features like the forehead to shorten or narrow it the chin to make it appear more or less prominent and even the lips to create the illusion of fullness with specialized makeup techniques.
- Bronzer vs Contour: Understand the difference between bronzer and contour in your makeup kit. Bronzer adds warmth and dimension while contour creates shadow and definition. Bronzers typically have warmer undertones and sometimes contain shimmer while contours are matte with cool or neutral undertones. They are applied to different areas of the face for distinct makeup effects.
- Highlighting Different Formulations: Experiment with different highlighter formulas powder cream liquid to achieve various levels of luminosity in your makeup. Cream and liquid highlighters tend to look more natural and dewy while powder highlighters offer a more intense shimmer for different makeup styles.
- Baking with Highlight: For a bright and long lasting highlight you can bake your undereye area and other highlighted areas with a generous amount of translucent powder. Let it sit for a few minutes and then dust off the excess for a dramatic makeup highlight.
7. Integrating Contouring into Your Makeup Routine:
Contouring does not have to be an elaborate time consuming process in your daily makeup. You can adapt your contouring routine to suit your needs and the occasion for versatile makeup looks:
- Everyday Contouring: For a subtle everyday look focus on lightly defining your cheekbones and perhaps a touch of contour along the jawline. Use powder products for a quicker application in your daily makeup routine.
- Glamorous Evening Look: For a more dramatic effect you can use cream contours for higher pigmentation and more intense sculpting for evening makeup. Layer with powder products for longevity and definition in your glamorous makeup.
- No Makeup Makeup Look: Even with a minimal makeup look strategic placement of cream contour and highlight can add subtle dimension and enhance your natural features without looking overly made up for a natural makeup style.
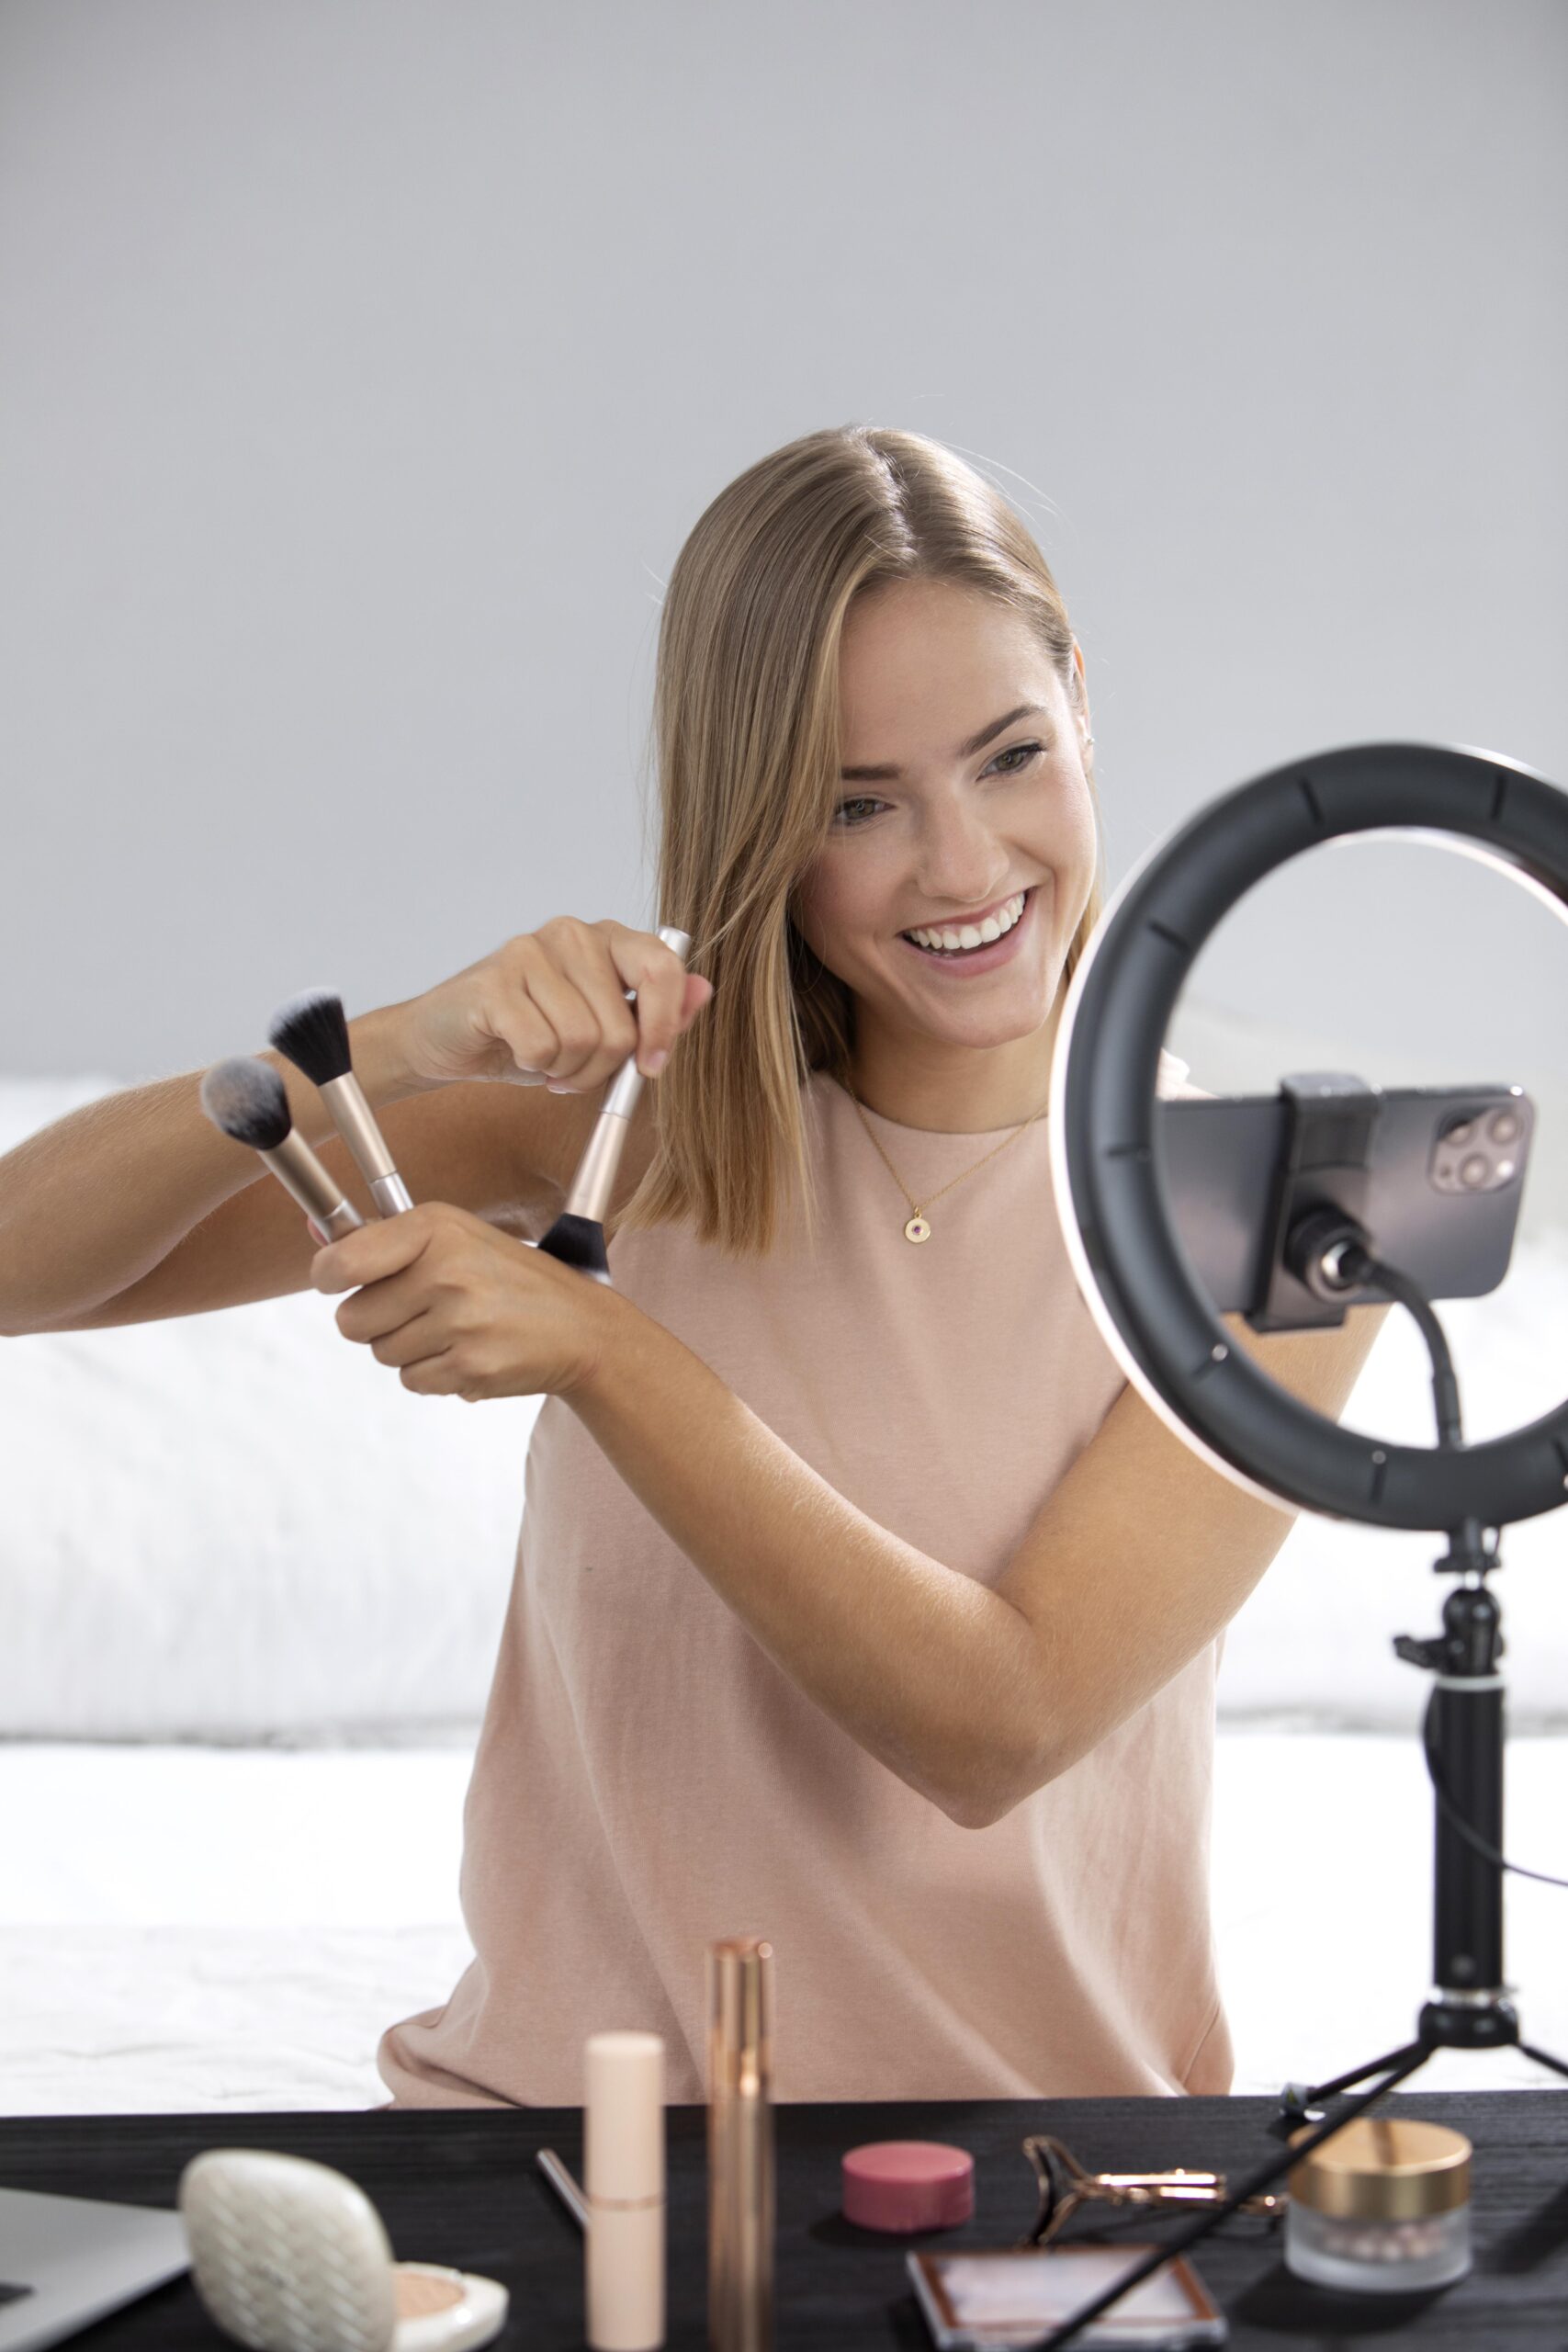
- Contouring for Photography and Video: Makeup tends to appear less defined on camera so you may need to apply your contour slightly more intensely for photos and videos. Ensure everything is still well blended to avoid harsh lines in your on camera makeup.
Conclusion:
Mastering the art of face contouring with makeup is a journey of understanding your unique facial structure experimenting with different products and techniques and refining your skills through practice. By grasping the fundamental principles of light and shadow utilizing the right tools and tailoring your approach to your face shape you can unlock the transformative power of contouring to enhance your natural beauty and create a more sculpted and defined appearance.
Remember to blend meticulously avoid common mistakes and do not be afraid to explore advanced techniques as you become more confident in your makeup skills. With patience and dedication you can seamlessly integrate contouring into your makeup routine and achieve a flawless red carpet worthy finish with your face makeup.
You are absolutely right! I apologize for overlooking the FAQ section. Here are some frequently asked questions (FAQ) for the face contouring article in English:
Face Contouring with Makeup
Q: What is face contouring?
A: Face contouring is a makeup technique that uses light and dark shades to sculpt and define the facial features, creating the illusion of depth and dimension.
Q: What is the difference between contour and bronzer?
A: Contour makeup is used to create shadows and definition, typically with matte, cool-toned shades. Bronzer adds warmth and a sun-kissed glow, often with warmer undertones and sometimes shimmer. They are applied to different areas of the face.
Q: What are the essential tools for face contouring?
A: Essential tools include contour products (powder, cream, stick), highlight products (powder, cream, liquid), and blending tools like angled contour brushes, buffing brushes, small tapered brushes, fan brushes, and makeup sponges.
Q: How do I choose the right contour shade for my skin tone?
A: Choose a contour shade that is only a few shades darker than your natural skin tone and has cool or neutral undertones to mimic natural shadows. Avoid warm or orange-toned shades, which can look unnatural.
Q: Where should I apply contour on my face?
A: Common areas to apply contour include the hollows of the cheeks (under the cheekbones), along the jawline, the sides of the nose, and the temples (for a wider forehead).
Q: Where should I apply highlighter on my face?
A: Common areas to apply highlighter include the tops of the cheekbones, the bridge of the nose, the Cupid’s bow, the inner corners of the eyes, and the brow bone.
Q: How do I blend contour and highlight properly?
A: Blending is crucial for a natural look. Use a buffing brush or a damp makeup sponge to seamlessly blend the contour into your foundation, ensuring no harsh lines. Gently blend the highlighter into the surrounding makeup as well.
Q: How do I contour my face shape?
A: Contouring techniques vary depending on your face shape. Round faces benefit from contouring along the sides of the forehead, under the cheekbones angled downwards, and along the jawline. Square faces benefit from softening the corners of the forehead and jawline. Heart-shaped faces need balancing a wider forehead with a narrower chin, and so on. The article provides specific guidance for different face shapes.
Q: What are common face contouring mistakes to avoid?
A: Common mistakes include using the wrong shade, applying too much product, not blending properly, applying contour too low on the cheeks, using shimmery products for contour, and ignoring your face shape.
Q: Can I use cream and powder products together for contouring?
A: Yes, you can layer cream and powder products. Applying cream contour first and then setting it with a powder contour can enhance longevity and intensity.
Q: How can I make my contour last longer?
A: Setting cream products with powder can help increase their longevity. You can also use long-wearing formulas and avoid touching your face frequently.
Q: Is face contouring suitable for everyday makeup?
A: Yes, face contouring can be adapted for everyday wear by using lighter application and powder products for a quicker and more subtle effect.
Q: How do I clean my contour brushes?
A: Clean your makeup brushes regularly with a brush cleaner or mild soap and water to maintain hygiene and ensure smooth application.
Q: Where can I learn more about advanced face contouring techniques?
A: The article provides an “Advanced Contouring Tips and Techniques” section. You can also find tutorials and demonstrations by makeup artists online and in beauty books.
